Nokia Software Updater Software[Phoenix]

How to flash Nokia handset firmware using Phoenix
http://www.youtube.com/watch?v=LdSyBycEMtA
Nokia firmware update with Phoenix Service Software
Also known as
- Nokia firmware ROM update with Phoenix Service Software
- Nokia software repair guide using Phoenix Service Software
- Nokia flash upgrade howto Phoenix Service Software
Notes
- always backup user data from phone
- phone battery should be charged
- it is recommended to close all applications (on computer and on phone)
- You may lose phone warranty by flashing the phone
- Even the pictures show the flashing of a Nokia C7, this procedure applies all the BB5 Nokia phones
What is needed?
- USB data cable (miniUSB or microUSB)
- a working nokia BB5 mobile phone [LINK IN LAST]
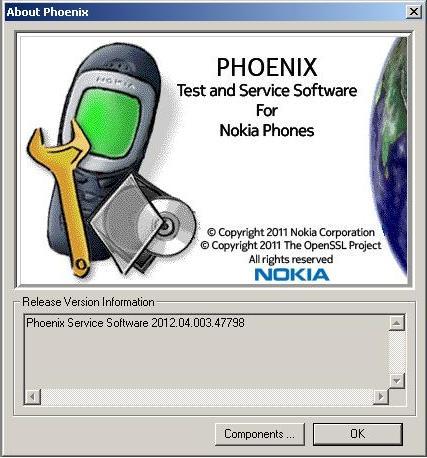
- Installed cracked Nokia Phoenix Service Software
- suitable Nokia firmware:
Download link given in last
- download firmware using Navifirm
Firmware update procedure
1. Remove All USB Devices from your computer as they will conflict with Pheonix. This including Keyboards, Mice, USB Drives etc etc[not compulsory]2. Turn on phone and connect it in OVI / PC Suite mode to computer with USB data cable. Install all the necessary USB cable drivers.[Exit Nokia Pc Suite]
3. Run Phoenix Service Software as administrator. (Windows Vista, 7: right click -> run as administrator; XP: login with administrator privileges)
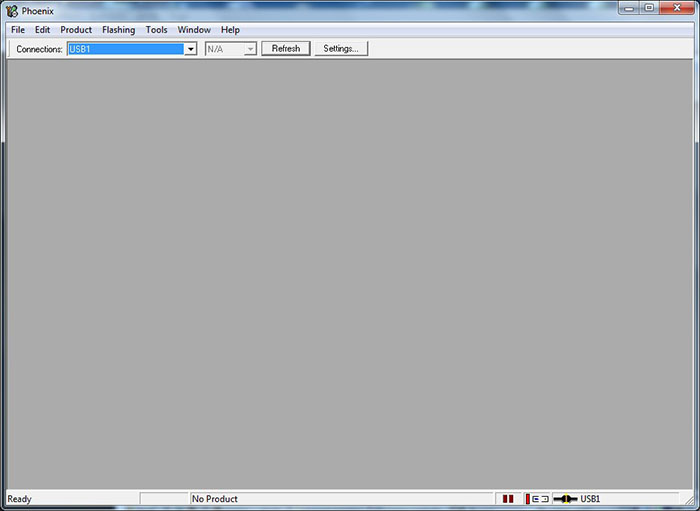
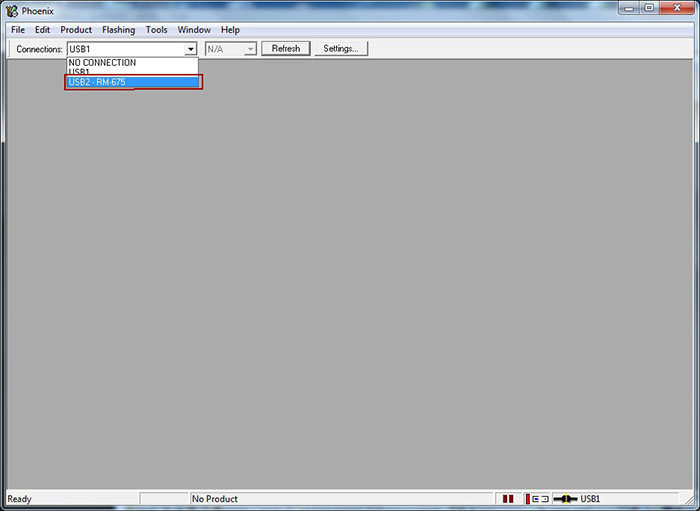
4. Select the USB port where the phone is connected.
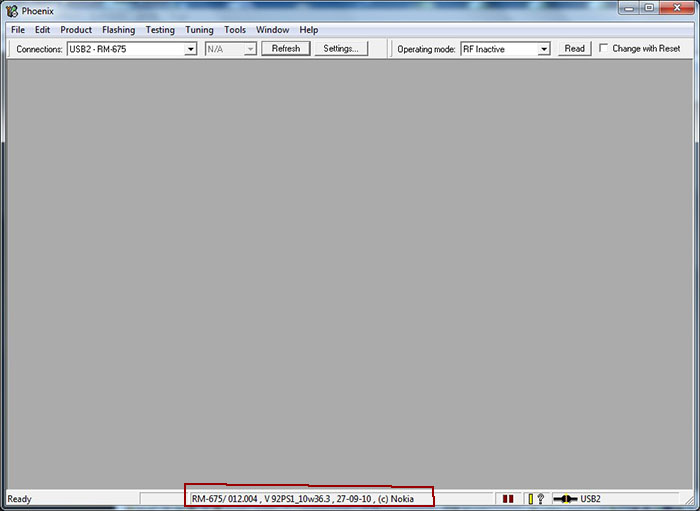
5. Select "Scan product" in "File" menu to read phone information.
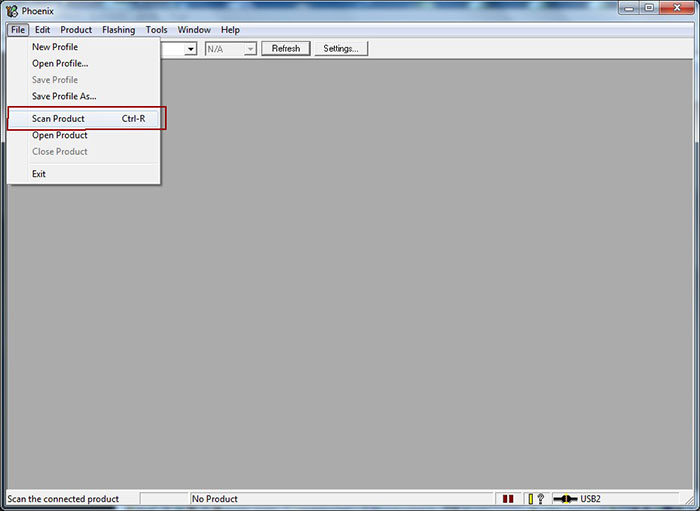
6. Mobile phone information should appear in the statusbar. That means the connection is working between mobile phone and computer.
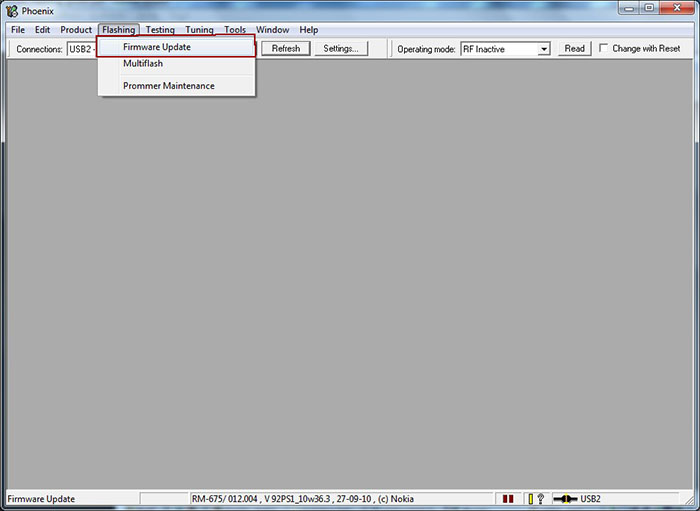
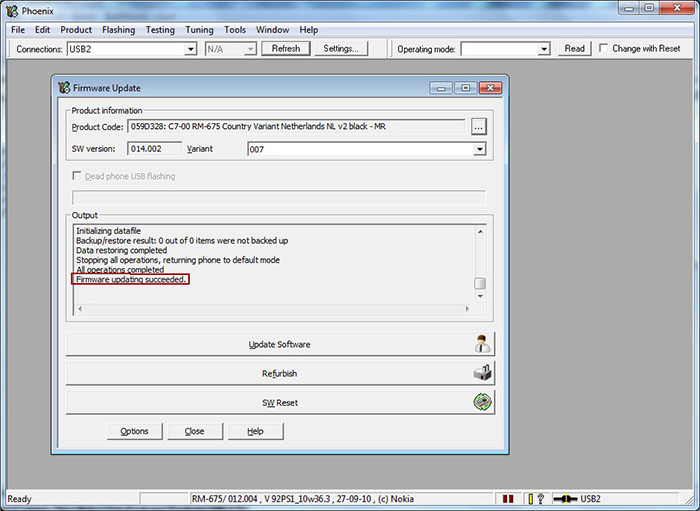
7. Select "Firmware Update" from "Flashing" menu.
8. The suitable firmware package will be automatically selected. If not, that means that the installed firmware data package does not contain firmware for this product code. You may try to install the minor data packages, use Navifirm to download the suitable firmware, or choose other product code's firmware by clicking on "..." button.
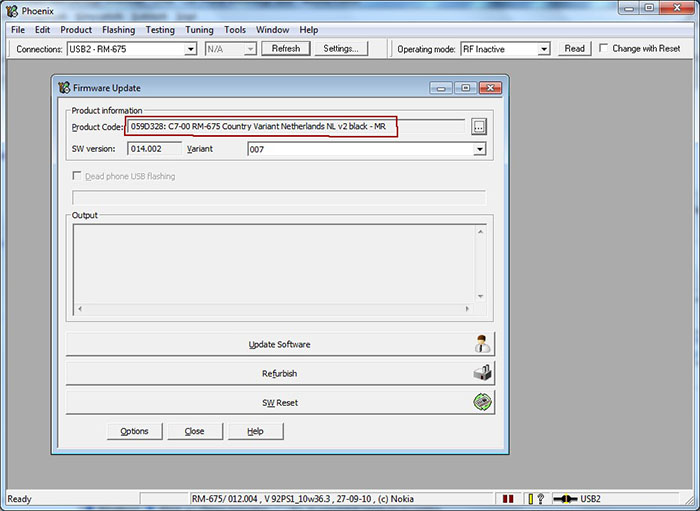
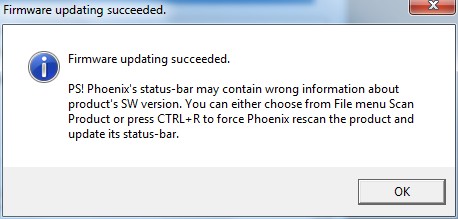
9. Click on "Update Software" button to start the flashing procedure. (You may click on Refurbish button, but in that case the user data and applications will be erased, and phone will be reseted to factory settings.) Do not remove the mobile phone from data cable. The operation will take 2-3 minutes, when finished, a window will appear: "Firmware updating succeded.".
10. Remove phone from cable, and turn it on. Check the firmware version of the phone by entering *#0000#

DOWNLOAD PHOENIX
FOR FIRMWARES FOR YOUR PHONE
1)download pheonix
2)request ur firmware files here and download them.
3)make a folder name as RM-xxx,replace xxx with the code u get from ur cell like RM-596
4)install phoenix
5)move the rm folder in C:\Program Files\Nokia\Phoenix\Products\RM-xxx
6)switch off ur cell and connect ur cell to ur pc (dont wory abt anything just do it)
7)open phonix and select no connection in connections
8)then click on open product and select ur rm folder from there
9)then go to flash mode and make a tik mark on dead mode.
10)click on 3 ... and then select ur product code
11)click on rebush.flashing will start after that u will see a window remove ur cell and connect it again do as shown in tht box then ur cell will start now ur cell will work as normal.
No comments:
Post a Comment